Showing posts with label fabric flower tutorial. Show all posts

Friday, November 12, 2010

Cozy Winter Wreath {tutorial}


Yep, you read it right.  Winter.  I'm trying to embrace these colder days as cozy fall days, but when you are elbow deep in Christmas crafts it taking quite a bit of effort,  Especially for a girl that has been known to put up her Christmas decorations on November 1st.  {Its hard not to do when you live up in the snowy mountains of Colorado!} Are you feeling that tug of Christmas too? Here's the perfect cozy day activity.  I highly recommend that Bing Crosby and Hot Chocolate I was talking about earlier.


The first steps is where you are really going to settle in and get cozy. You'll need a wreath form and some yarn.  Any wreath in any size will do.  And if you have yarn all wrapped up in a ball it will be a little bit easier, but not necessary.  I think JoAnn's even has yarn on sale. 


So put on a good movie or watch some football and start wrapping your wreath with the yarn, making sure its tight.  I used a dab of hot glue at the beginning to help hold it in place, and left a little tail, so that I could tie it off when I got all of the way around.  Don't worry about it being perfect!  I even added some extra to make it look even more unperfect. I'll just give you a little warning that this may take awhile.  Especially if you have a larger wreath.  But its a way to feel productive and not so guilty for snuggling up and on a cold fallish night!


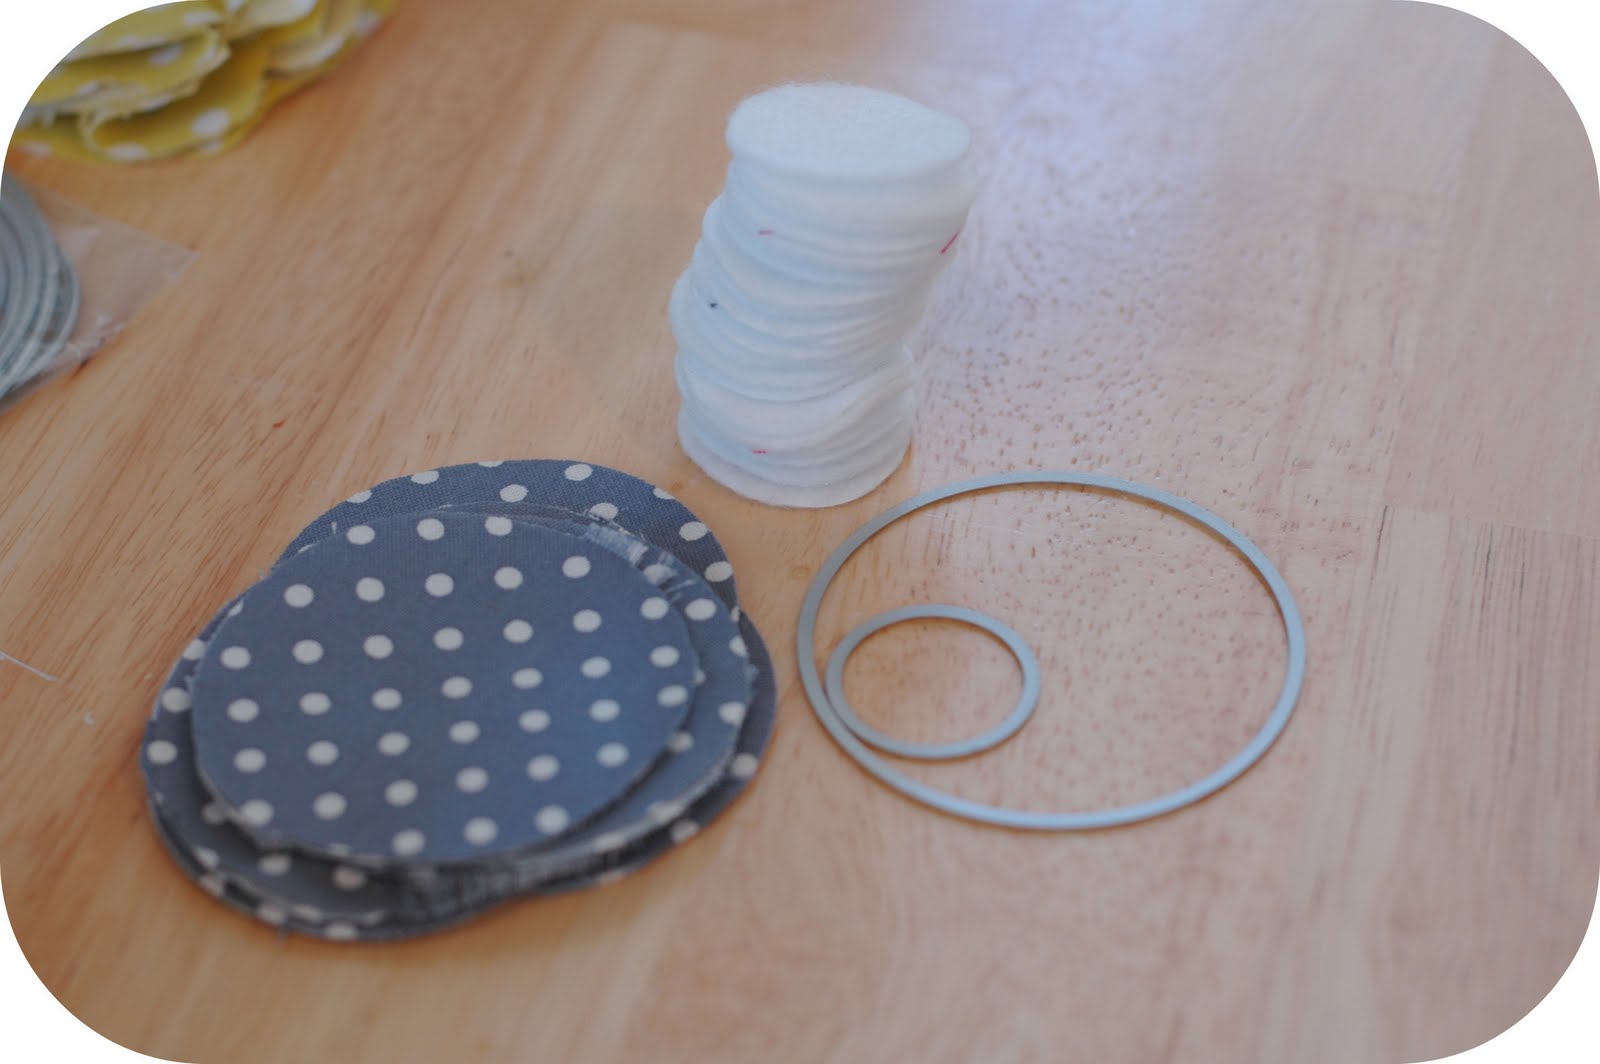
Now you can add any embellishments you want.  Felt works really well {and adds to the coziness}for making flowers and thats what I used.  I first cut some wonky stacked circles out of a teal, and then added a little white rose and black button.  Hot glue is your frenemy so watch your fingers!  I had to add red {of course} so I cut some petals and layered them for a poinsetta look.  I then added a bookpage snowflake and a button tied with baker's twine.  I heart the bookpage snowflake.  A lot.  I've been making some garland with them too.  For the garland I've just been using single snowflakes, but I  needed one with some stiffness. 


This will work for any shape, I'm thinking leaves would be fabulous too.  Grab at least 5 torn out book pages and some mod podge and a brush.  


Mod podge the top of your first page and stack the next one on top.   Rub out any air bubbles really well.  Let it dry for a minute, then repeat.  Add however many pages to get the thickness you want. Just make sure to let it dry a little bit between each one, especially if your pages are thin. 


Once your pages are dry go ahead and cut your shape out.  I've talked about my Big Shot before, and if you were curious as to what it was hopefully this gives you an idea.  I had gotten a 70% off coupon at JoAnn's a while back so I used that to get this awesome snowflake.  Of course you can trace out any shape and use your scissors, but I've mentioned before my incompetence with those things.  ;)


It works out perfectly, giving your shape the stiffness of something like chipboard!  

 {on a side note, my walls are not that yellow, but thats what happens when you take pictures at night!}

    I love how my cozy wreath turned out and that it can be a "winter" decoration and can be left up in January.  You know that one winter month that reminds me why I shouldn't rush winter?!


All right peeps.  One last thing.  I've got something very awesome for you for next week.  I've lined up some of my favorite writers to help me out too.  I'm ready for a little peace, and thankfulness and these ladies are going to help us get there. So grab a button, have a fabulous and cozy weekend and we'll see you here next week!

Photobucket

Saturday, August 28, 2010

Winner!! and Garland Tutorial

 Ok, If you are new around here you will soon learn that when I say I'll be back tomorrow sometimes that means in a couple days!  After all that ignoring my family time spent getting ready for the She Market I had to take a little break.  We played and cleaned.  Yesterday I had full intentions of going to the mall and getting some new jeans, but instead we spent an hour trying on Halloween costumes and two hours reading books at Barnes and Noble.  It was the best kind of productive day.  

But before we get to the tutorial we have some very important business to take care of!
The winners of a spool of baker's twine from 


 are....
#63   Rach {el Paulsen!}

#93 Lyssa said...
I posted about this giveaway on FB!

 #115 Amber said...I love twine! I am a new follower.
 
Congrats ladies!  Email me your info {makingitmyown@gmail.com} and the color of twine you want so we can get it to you lickety split!
 
Alright.  Here's how I used my twine this week!
 
I had this fun garland hanging on my tent at She Market.  Super easy and pretty quick if you have an easy way to cut circles!
 
 
You are going to need a stack of felt circles about the size of a quarter, a stack of bigger circles {these are 2 1/2 inches} from your fabric of choice, hot glue, bakers twine and scissors.  
Want to know a secret about me?  I am seriously bad at cutting.  If it wasn't for things like rotary cutters and my Big Shot I would not get very far in this crafting world.  So for this project I used my big shot and my nestable circle dies to cut out my circles.  
 
 
To start out, take a fabric circle and fold it in half and then half again.
 
 
 Then glue that circle in the middle of a small felt circle {like the first picture}.  Then keep folding and gluing until it looks full.  I used five circles each.  You will soon realize that you need more fabric circles then you thought so cut some more and keep gluing.   Your gonna need a lot of these because it takes two for each pom pom.  


 When your done folding and gluing and have cursed your hot glue gun for being so mean to you, lay one poof felt side up.  Lay the bakers twine color of your choice over the middle like in the picture above.   Then take another poof, add some more hot glue to the felt circle and glue it on top, sandwiching the string like the picture below.  


Cute! 


On this garland I spaced them apart 4 inches.  I started on one side and put two 2x2 squares next to each other then added another.  This gives you about 6 inches of garland.  On my white one I spaced them six inches apart.  So three pom poms was 24 inches of garland, just to give you an idea.  Just keep gluing, just keep gluing...


When you have your desired length: hang, stand back and smile.  Aren't they fun!  


{I used white linen and aqua twine for this one, and for the colored one I used MM dinky dots in gray, Lotus in red from Amy Butler and yellow twine.}
And a side note to save you from hating your new garland...
If you are transporting this at all or putting it away, wrap it around a piece of cardboard to prevent it from getting tangled.  Because it will in about 2 seconds.  
Have a great weekend! 
 
Don't forget to use the code MAKEIT25 through Monday at The Twinery to get 25% off your order!  And become a fan of The Twinery on facebook to catch all of their fun deals and ideas!
Photobucket

Wednesday, December 9, 2009

Poinsettia Pins


I haven't been a big fan of poinsettias in the past, not sure why but this year I am digging them.  I got these poinsettias in a bunch at walmart for $3.  I also used them on my joy blocks.  I made a couple of pins and decided to make a couple more and show you how to make one if you want!

You are gonna need the poinsettia flowers, plus I used a length of red satin gathered on one edge, some red tulle, a black vintage-y sparkly button(also from Walmart) and a pin for the back.  Oh and a glue gun.


Take apart your flower and discard any plastic pieces.  Then hot glue on the gathered up strip of satin.  On the satin put a dab of hot glue in the center and place a square of red tulle on it.  Careful, tulle and hot glue aren't very good friends. 


Then put your top layer of the poinsettia and glue it on top of the tulle.


Next glue on your button.  I put glue all over the back of the button and pushed the petals on to the button to help it pop up a bit.   Does that make sense?


Glue your pin on the back - a little higher than center so it doesn't flop over - and cover with a small piece of red satin(or not just preference), then pin it wherever you want!


On your favorite houndstooth pillow,


on your burlap banner for a pop of glam,


or pinned to a necklace or headband.
preferably not with that purple shirt but I was being to lazy to change my clothes for a picture.

LinkWithin

Related Posts with Thumbnails